How to create an SRT file for video captions
You've all read our How to achieve AA accessibility rating guidance, haven't you?
And you've also read the Digital Marketing Team Blog This blog is about how we can make our website as accessible as possible.
From now on, we want to provide captions for all prerecorded audio/video content. We also need to comply with The Public Sector Bodies (Websites and Mobile Applications) Accessibility Regulations 2018. NOTE: captions include subtitles PLUS text to describe important sounds, such as (applause) or (a sudden loud noise), and any written content from the video.
All new video we upload to the website must have captions and we also want to add a full transcript of what is said in our videos.
This is what an SRT file does. And the great thing about it is you don't have type everything out, YouTube will do it for you - up to a point.
What I'm going to show you here is how to create an SRT file, download it, send it to the CELT video production team and use it to create a transcript. You will need to set up an individual YouTube account using your University email address.
Step-by-step guide
- Record and edit your video.

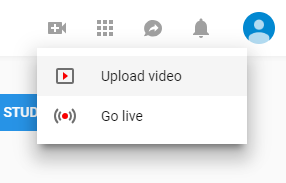
- When your video is finished, upload it to your individual YouTube account. Click on the little camera with a "+" sign inside it.
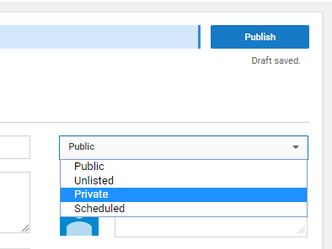
- Ensure the video is set to Private.
- Go to the Creator Studio within YouTube so you can edit your video. You need to be in the Subtitles/CC tab.
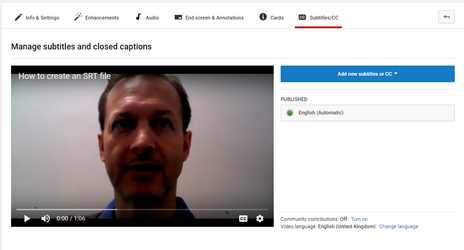
And then click on the published subtitles - where it says English (automatic).
NB If you find you are in Studio Beta in YouTube, you will need to go to "Other features > More" in the side-bar menu to get to Creator Studio.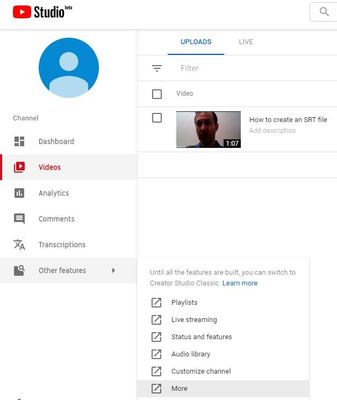
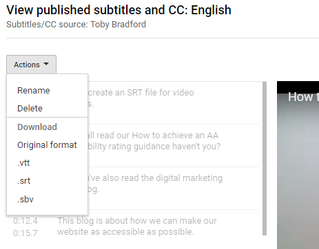
- Clicking on English (automatic) will open up the View published subtitles screen.
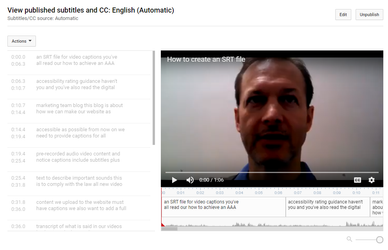
What you have now are the subtitles generated automatically by YouTube. YouTube has done a pretty good job in this case but there are a few errors - and no punctuation. This editing screen is where we can add these. - Click on the Edit button and this will take you to the Transcribe and set timings screen.
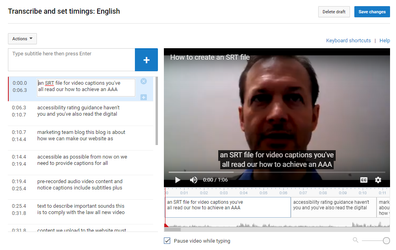
- You can edit the content on the left and change the timings by moving the boxes underneath the video to make the subtitles match the dialogue. If there is more than one speaker, add their name with a colon when they start speaking, eg TOBY: How to ...
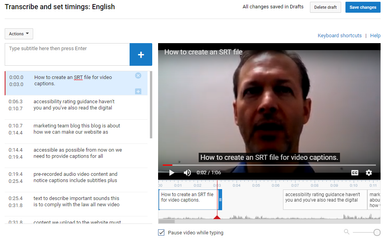
You can add additional boxes using the "+" button. Once you have completed your edit of the captions, Save changes. You now have a video with accurate subtitles. - Download the SRT file that contains the subtitles. To do this, click on your newly created subtitles - where it says English.
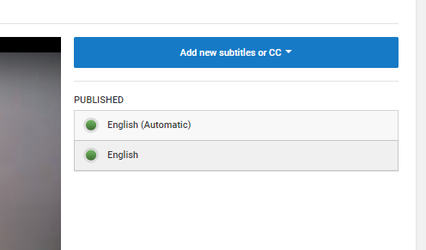
- This will take you back to the View published subtitles screen. Instead of editing, go to actions and, under Download, click on .srt and this will download your corrected SRT file.
- Use WeTransfer to send the SRT file and the video file to mediaproduction@derby.ac.uk.
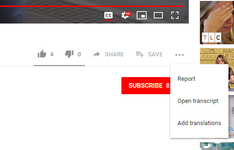
To create a transcript of the video you can use in T4, you can access transcripts on any YouTube video by clicking on the "..." below the video. (You can do this with any video of YouTube with captions, not only ones you have uploaded).
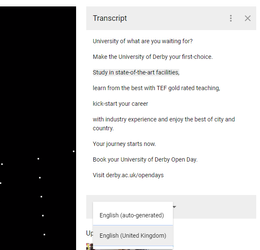
This will open up the Transcript window beside the video and you can toggle between the auto-generated version and the corrected version.
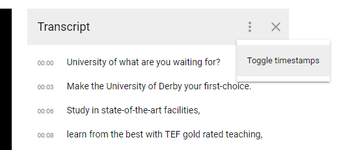
You can also toggle the timestamp on and off.
- Then simply copy the text and edit in the programme of your choice. You will need to tidy it up into paragraphs and add the names of your speakers and any important visual content. You will also need a short introduction. You can then use this copy to create your transcript in T4.
- You can also use the SRT file to create a transcript of the video you can use in T4 - but you will have to delete all the time codes. To do this, go to the SRT file you downloaded.
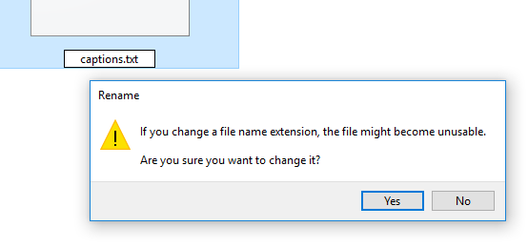
You will find you will not be able to open it. - To open it, make a copy of the SRT file and then rename by changing the .srt to .txt. You will get a prompt asking you whether you really want to do this. Say yes.
- You will then be able to open the file in Notepad. It will look something like this.
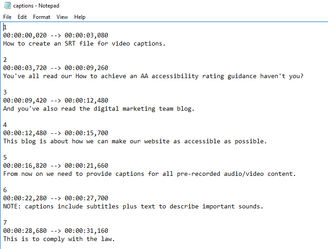
- All you need to do now is remove all the timing notes and add the names of your speakers and any important visual content. You don't need to do this in Notepad. You can copy the text and edit in the programme of your choice.

This method can also be used to correct the captions and create transcripts for videos already published on YouTube and the website.
Related articles